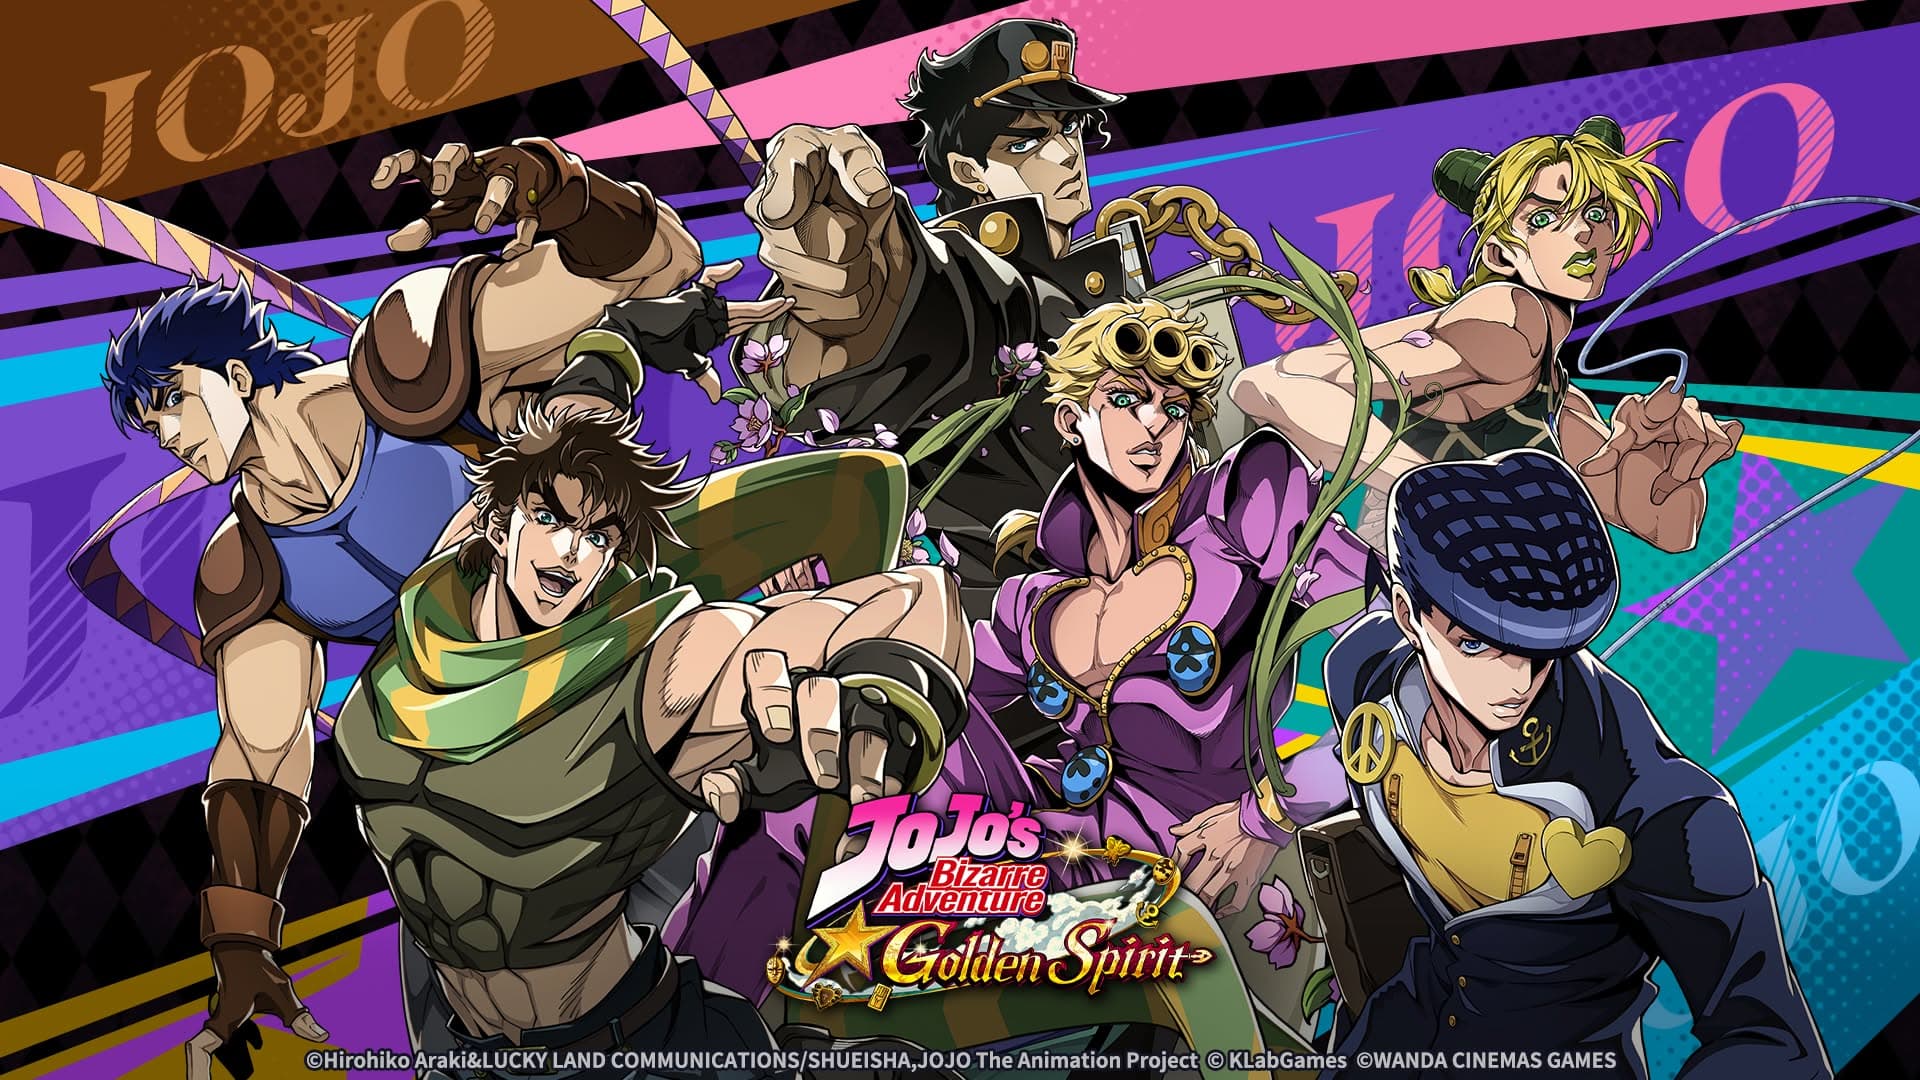
Best Team Guide
How to plan a strong JoJo: Golden Spirit team before launch — spreading fighting styles, chaining RUSH finishers, and the carry-and-support shape worth building toward.
Team-building in JoJo: Golden Spirit comes down to three things you can already plan around without knowing your exact roster: which fighting styles you're covering, how your Ultimates line up for RUSH, and where everyone stands on the grid. None of this requires guessing at character stats — it's built entirely from confirmed mechanics.
No official source has mapped specific characters to their fighting styles yet. Everything below is about the shape of a good team, not which names belong in it — that part fills in once the game is live on August 13, 2026.
Don't stack a single fighting style
All six fighting styles — Defense, Assault, Agility, Ranged, Special, and Support — have published effects (see Fighting Styles for the full list), and a team leaning entirely on one leaves an obvious hole. Two styles are worth planning around specifically:
- Special — basic attacks restore 20% of max Energy every 10 seconds, which is a direct accelerant for the Ultimates RUSH depends on.
- Support — heals an ally for 10% of max HP the moment they drop below 30% HP, giving your team a built-in safety net.
Building toward a RUSH chain
RUSH triggers when three characters of three different fighting styles fire their Ultimates close together, granting the whole team +25% Final Damage and a burst of Energy. A team built for this isn't just "six strong characters" — it's closer to four roles: three Energy-generating characters spread across different styles, and one finisher who benefits most once RUSH is live. Exact Energy costs aren't public yet, so you can't calculate the tightest possible chain today, but covering three-plus styles is already a sound call regardless of the specific numbers.
Positioning still does real work
Combat runs automatically once everyone's placed, so where you put a character is the team-building decision that actually matters mid-fight. Durable characters up front absorb the opening pressure; anything fragile — carries, Support units — sits back out of immediate danger. Real-time weather can shift what "good positioning" even means mid-battle (see Weather System), so a formation you never revisit is leaving a real layer of the game on the table. The Formation Grid guide covers what's known about the actual board.
The carry-and-support shape
A reliable core pairs one character built to deal the bulk of your damage with one that keeps them alive or fed with resources, then rounds out with flexible picks that help hit three fighting styles for RUSH. Since exact style assignments aren't public, think of this as a shape to fill in rather than two specific names: something that survives the opening trade, something that answers low HP, and something that keeps Energy flowing. Duplicate pulls raise a character's Star level, so settling on a core early means every future copy of those characters keeps paying off.
What we can't finalize yet
Grid dimensions beyond the 11-panel count, exact character-to-style assignments, and Energy costs for every Ultimate are all unconfirmed. Any "best team" list published before real post-launch data exists — including a first draft of this one — is working from an incomplete picture. Treat the framework above as the part that's safe to plan around, and expect names to get filled in fast once the game is live.
Related
- Fighting Styles — every style's confirmed effect.
- Energy & Cooldowns — exactly how RUSH triggers.
- Formation Grid — what's known about the battlefield itself.
- Weather System — the environments that can change your positioning mid-fight.